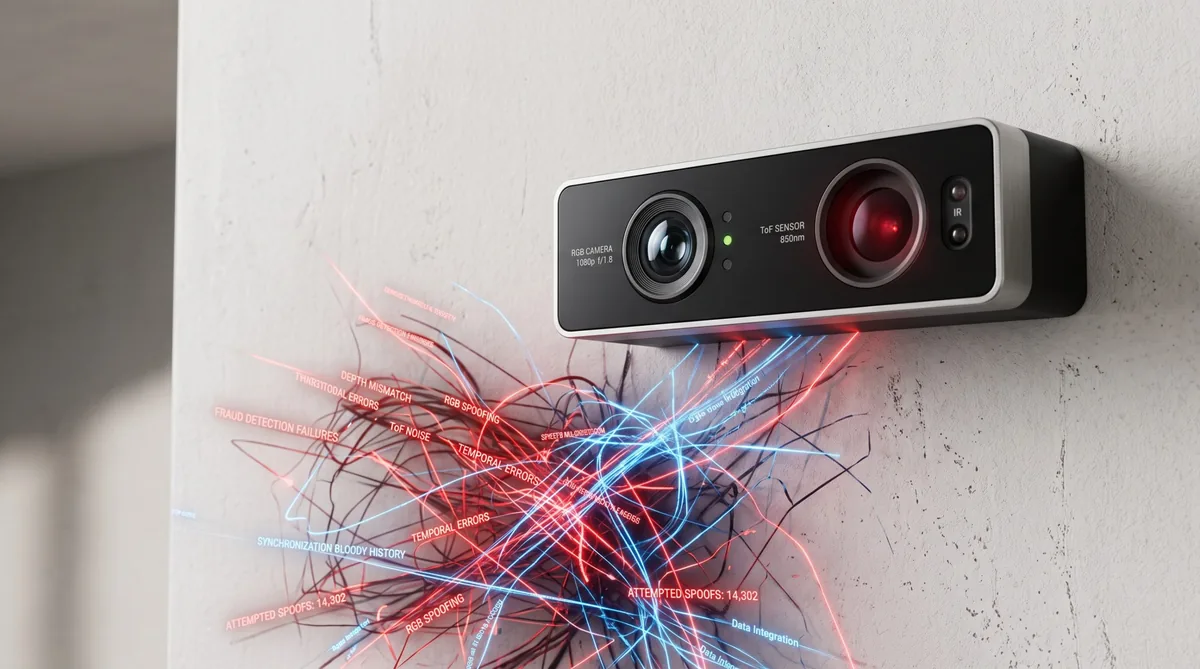
在門禁機上,單靠一顆普通 RGB 鏡頭做人臉辨識,基本上就是把大門敞開給彩色列印照片、iPad 螢幕和 3D 矽膠面具隨便進出。
為了通過嚴苛的 BCTC(銀行卡檢測中心)金融級支付認證,我們在這台破板子上,同時掛了兩顆硬體鏡頭:
- RGB 可見光鏡頭:抓取彩色人臉特徵,供人類在螢幕上看即時預覽與標記人臉框。
- Sony IMX516 iToF 深度鏡頭:輸出 IR 紅外灰階圖與 16-bit 物理點雲,專門從 3D 空間維度抓真假人臉。
硬體工程師把鏡頭接上去很爽,但軟體的災難才剛剛開始:
你怎麼保證送進 AI 模型的彩色人臉跟深度點雲,是同一瞬間的同一個人?
致命的時空錯位:你在左邊,你的深度在右邊
這兩顆鏡頭在硬體特性上天差地遠:
- RGB 鏡頭:硬體 ISP 自動曝光與出圖極其順暢,穩定維持在 30fps(每 33.3ms 吐一幀)。
- ToF 深度鏡頭:必須解調 4 個相位的 Raw 訊號、計算空間座標,運算繁重,幀率稍低且偶爾抖動。
這在動態場景下會引爆毀滅性的 「時空錯位」:
當有人快步走向門禁機時,RGB 鏡頭抓到他在左邊(第 10 毫秒的畫面),而 ToF 深度鏡頭在背景慢吞吞吐出的點雲,卻還停留在他在右邊的舊位置(第 25 毫秒的畫面)。
兩張圖往 AI 模型一送,彩色的人臉五官跟 3D 的鼻樑輪廓完全對不上!
AI 活體防偽演算法一看:「這張臉的鼻子塌陷、眼眶懸空,深度特徵完全破碎」,當場判定為照片攻擊,直接亮紅燈拒絕通行。
我們必須在軟體層把這兩路影像強行鎖在同一個時間切片上。
軟體解法:RGB 當火車頭,ToF 隨叫隨到
我們沒有讓兩顆鏡頭各自在背景亂跳回呼(Callback),而是設計了一套以 RGB 為基準的「非阻塞抽幀(0ms)」與「丟舊保新(Drop-Oldest)」湊包機制。
1. RGB 當 Master 時鐘,帶時間戳記校驗拉取 ToF
在 CameraInstance.java 中,我們讓幀率穩定的 RGB 鏡頭擔任全系統的火車頭。
每當 RGB 吐出一幀畫面,我們以硬體單調時間戳記(SENSOR_TIMESTAMP)去 ToF 佇列拉取匹配的深度幀,並設定微秒級時間差閾值(例如 20ms):
// CameraInstance.java
mRgbCamera.setFrameCallback((yuv, rgbTimestampNs) -> {
    if (yuv != null) {
        System.arraycopy(yuv, 0, mYuvBuffer, 0, yuv.length);

        // 核心心法:帶時間戳記校驗的深度對齊(容忍差 20ms)
        boolean isTofAligned = mTof.getSynchronizedData(rgbTimestampNs, 20_000_000L, tofRaw);

        if (!isTofAligned) {
            // 時空不同步時:僅送入 RGB 作為人臉追蹤,絕不拿過期殘留深度騙 AI
            mCameraFrameCallback.onFrameAvailable(mYuvBuffer, null, null);
            return;
        }

        // 對齊成功:將當前切片的 RGB (mYuvBuffer) 與最新 ToF (tofRaw) 打包送進 Pipeline
        mCameraFrameCallback.onFrameAvailable(mYuvBuffer, tofRaw, null);
    }
});
2. ToF 的固定佇列與 Drop-Oldest 策略
ToF 的資料產生在背景執行緒跑。在 CameraTofHelper.java 裡,我們維護了一個固定長度為 3 的 ArrayBlockingQueue。
如果 ToF 產生的速度比 RGB 拿取的速度快,或者佇列塞滿了,我們會主動丟棄最舊的那一幀,確保佇列最前端永遠是「距離現在最近」的資料:
// CameraTofHelper.java
private ArrayBlockingQueue<TofFrame> mRawQueue = new ArrayBlockingQueue<>(RAW_QUEUE_MAX_SIZE);
private ArrayBlockingQueue<byte[]> mFreeRawQueue = ...;

// 當 ToF 底層吐出資料時
synchronized (CameraTofHelper.this) {
    if (mRawQueueSize >= RAW_QUEUE_MAX_SIZE) {
        // 佇列滿了代表 RGB 還沒來拿,主動丟棄最舊的一幀(Drop-Oldest)
        TofFrame oldFrame = mRawQueue.poll(0, TimeUnit.MILLISECONDS);
        if (oldFrame != null) offerData(oldFrame.data);
    }
    mRawQueue.offer(new TofFrame(buffer, tofTimestampNs));
}

// 供 RGB 火車頭呼叫的時間戳記同步提取函式
public boolean getSynchronizedData(long rgbTimestampNs, long maxTolerateDiffNs, byte[] outBuffer) {
    synchronized (CameraTofHelper.this) {
        TofFrame latest = mRawQueue.peek();
        if (latest == null) {
            return false; // 佇列為空,ToF 尚未吐出深度資料
        }

        long diff = Math.abs(latest.timestampNs - rgbTimestampNs);
        if (diff > maxTolerateDiffNs) {
            mRawQueue.poll(); // 主動丟棄這個過舊的 ToF 幀,防止下一輪重複比對同一個無效幀
            return false; // 時間差超限,判定為時空撕裂,拒絕湊包
        }

        System.arraycopy(latest.data, 0, outBuffer, 0, outBuffer.length);
        mRawQueue.poll();
        offerData(latest.data); // 記憶體池回收重用 (0-GC)
        return true;
    }
}
透過這套嚴格的時間戳記雙向校驗,送進後面 Pipeline 的每一包 CameraData,RGB 與 ToF 都是在微秒級硬體時間戳記窗口內精確對齊。
進入 Pipeline:ToF 點雲轉 IR/Depth 圖像
拿到湊好包的 CameraData 之後,第一步是在 TofRawToIrDepth 中將 ToF 吐出來的 Raw 資料轉成 OpenCV Mat。
此處必須嚴格恪守 Blog 05 與 07.1 確立的「0-new 鐵律」——絕對禁止在 30fps 管線中每幀 new Mat(),否則幾千個帶有 finalize() 的包裝物件會瞬間塞爆 FinalizerReference 佇列引發毀滅性的 GC Thrashing。
所有人開機預先準備長壽命鐵碗:
package com.edge.ai.vision.steps;

public class TofRawToIrDepth implements Step<CameraData, DetectInfo> {
    // 開機預分配固定鐵碗,隨 Pipeline 生命週期終生重用(0-new 鐵律)
    private Mat mIrMat = null;
    private int mWidth = 0;
    private int mHeight = 0;

    @Override
    public boolean process(PipelineContext<CameraData, DetectInfo> context) {
        CameraData imageData = context.getInput();
        DetectInfo detectInfo = context.getOutput();

        if (imageData.getIrFrame() != null) {
            int curW = CameraProxy.getInstance().getIrFrameWidth();
            int curH = CameraProxy.getInstance().getIrFrameHeight();

            // 僅在初次執行或解析度動態切換時重設尺寸,執行期 0 次物件分配
            if (mIrMat == null || mWidth != curW || mHeight != curH) {
                if (mIrMat != null) {
                    mIrMat.release(); // 顯式釋放舊 Native 記憶體
                }
                mWidth = curW;
                mHeight = curH;
                mIrMat = new Mat(mHeight, mWidth, CvType.CV_8U);
            }

            // 直接覆寫 Native 記憶體,0 次 Java Heap 垃圾、0 次 finalize 佇列開銷
            mIrMat.put(0, 0, imageData.getIrFrame());

            // 存檔除錯通道使用 mIrMat...
        }
        return true;
    }
}
原本在 Java 裡解析 4 通道點雲(640x480x4 = 122 萬次迭代)需要 18 毫秒,我們把這段座標轉換下沉到 C++ 用 NEON 指令集一次抽 4 個 float,耗時直接縮短到 2 毫秒以下。
3D 空間人臉對齊:抓鼻尖深度與提早短路
有了深度矩陣,接下來要從 3D 空間中把人臉「挖」出來。
在 AlignDepthFace 步驟中,我們透過 calculateNoseDepth 計算人臉離鏡頭最近的幾何特徵點——鼻尖深度:
package com.edge.ai.vision.steps;

public class AlignDepthFace implements Step<CameraData, DetectInfo> {
    @Override
    public boolean process(PipelineContext<CameraData, DetectInfo> context) {
        CameraData cameraData = context.getInput();
        DetectInfo detectInfo = context.getOutput();

        // 鼻尖深度檢測:離鏡頭太遠(> 1.2m)或太近(< 0.2m)直接短路退場!
        float noseDepth = calculateNoseDepth(cameraData.getDepthFrame(), detectInfo.getFaceRect());
        if (noseDepth < 0.2f || noseDepth > 1.2f) {
            return false; // 提早終止 Pipeline,省下後續 CNN 運算!
        }

        detectInfo.setNoseDepth(noseDepth);
        return true;
    }
}
這就是前面提到的階梯式漏斗哲學:如果走過來的人距離門禁機還在 2 公尺外,光靠鼻尖深度檢測在 0.5ms 內就能判定「目標尚未進入刷臉距離」,當場終止後續耗時 200ms 的 CNN 運算。
跨感測器時空守門與收工
- 異質雙鏡頭必須有主從:不要試圖讓兩顆頻率不同的硬體鏡頭各自對齊,永遠選穩定高頻的 RGB 當火車頭,深度鏡頭當被動抽屜。
- 無情的 Drop-Oldest 是即時性的唯一保障:佇列滿了就踢掉舊幀,在 30fps 影像流裡,過期的資料比垃圾還不如。
- 幾何邊界提早短路:善用 ToF 物理空間的深度門檻,把無效目標在最初階段直接篩除。
下一篇,我們深入 Sony ToF 鏡頭最核心的黑魔法:如何把 RAW12 原始訊號在 3ms 內即時轉換為 30 萬個 3D 空間座標點雲!
感謝觀看,收工。
發佈留言